Further Notes
Changing the RF Probe
If a 15mm RF probe has been supplied, it can be swapped using the following steps.
Remove the 11mm ilumr lid by rotating it anti-clockwise.
Insert the supplied blanking tool into the RF probe, this ensures that fasteners cannot be dropped down the gradient cooling air vents.
Remove fasteners from all 8 locations show in the image below.
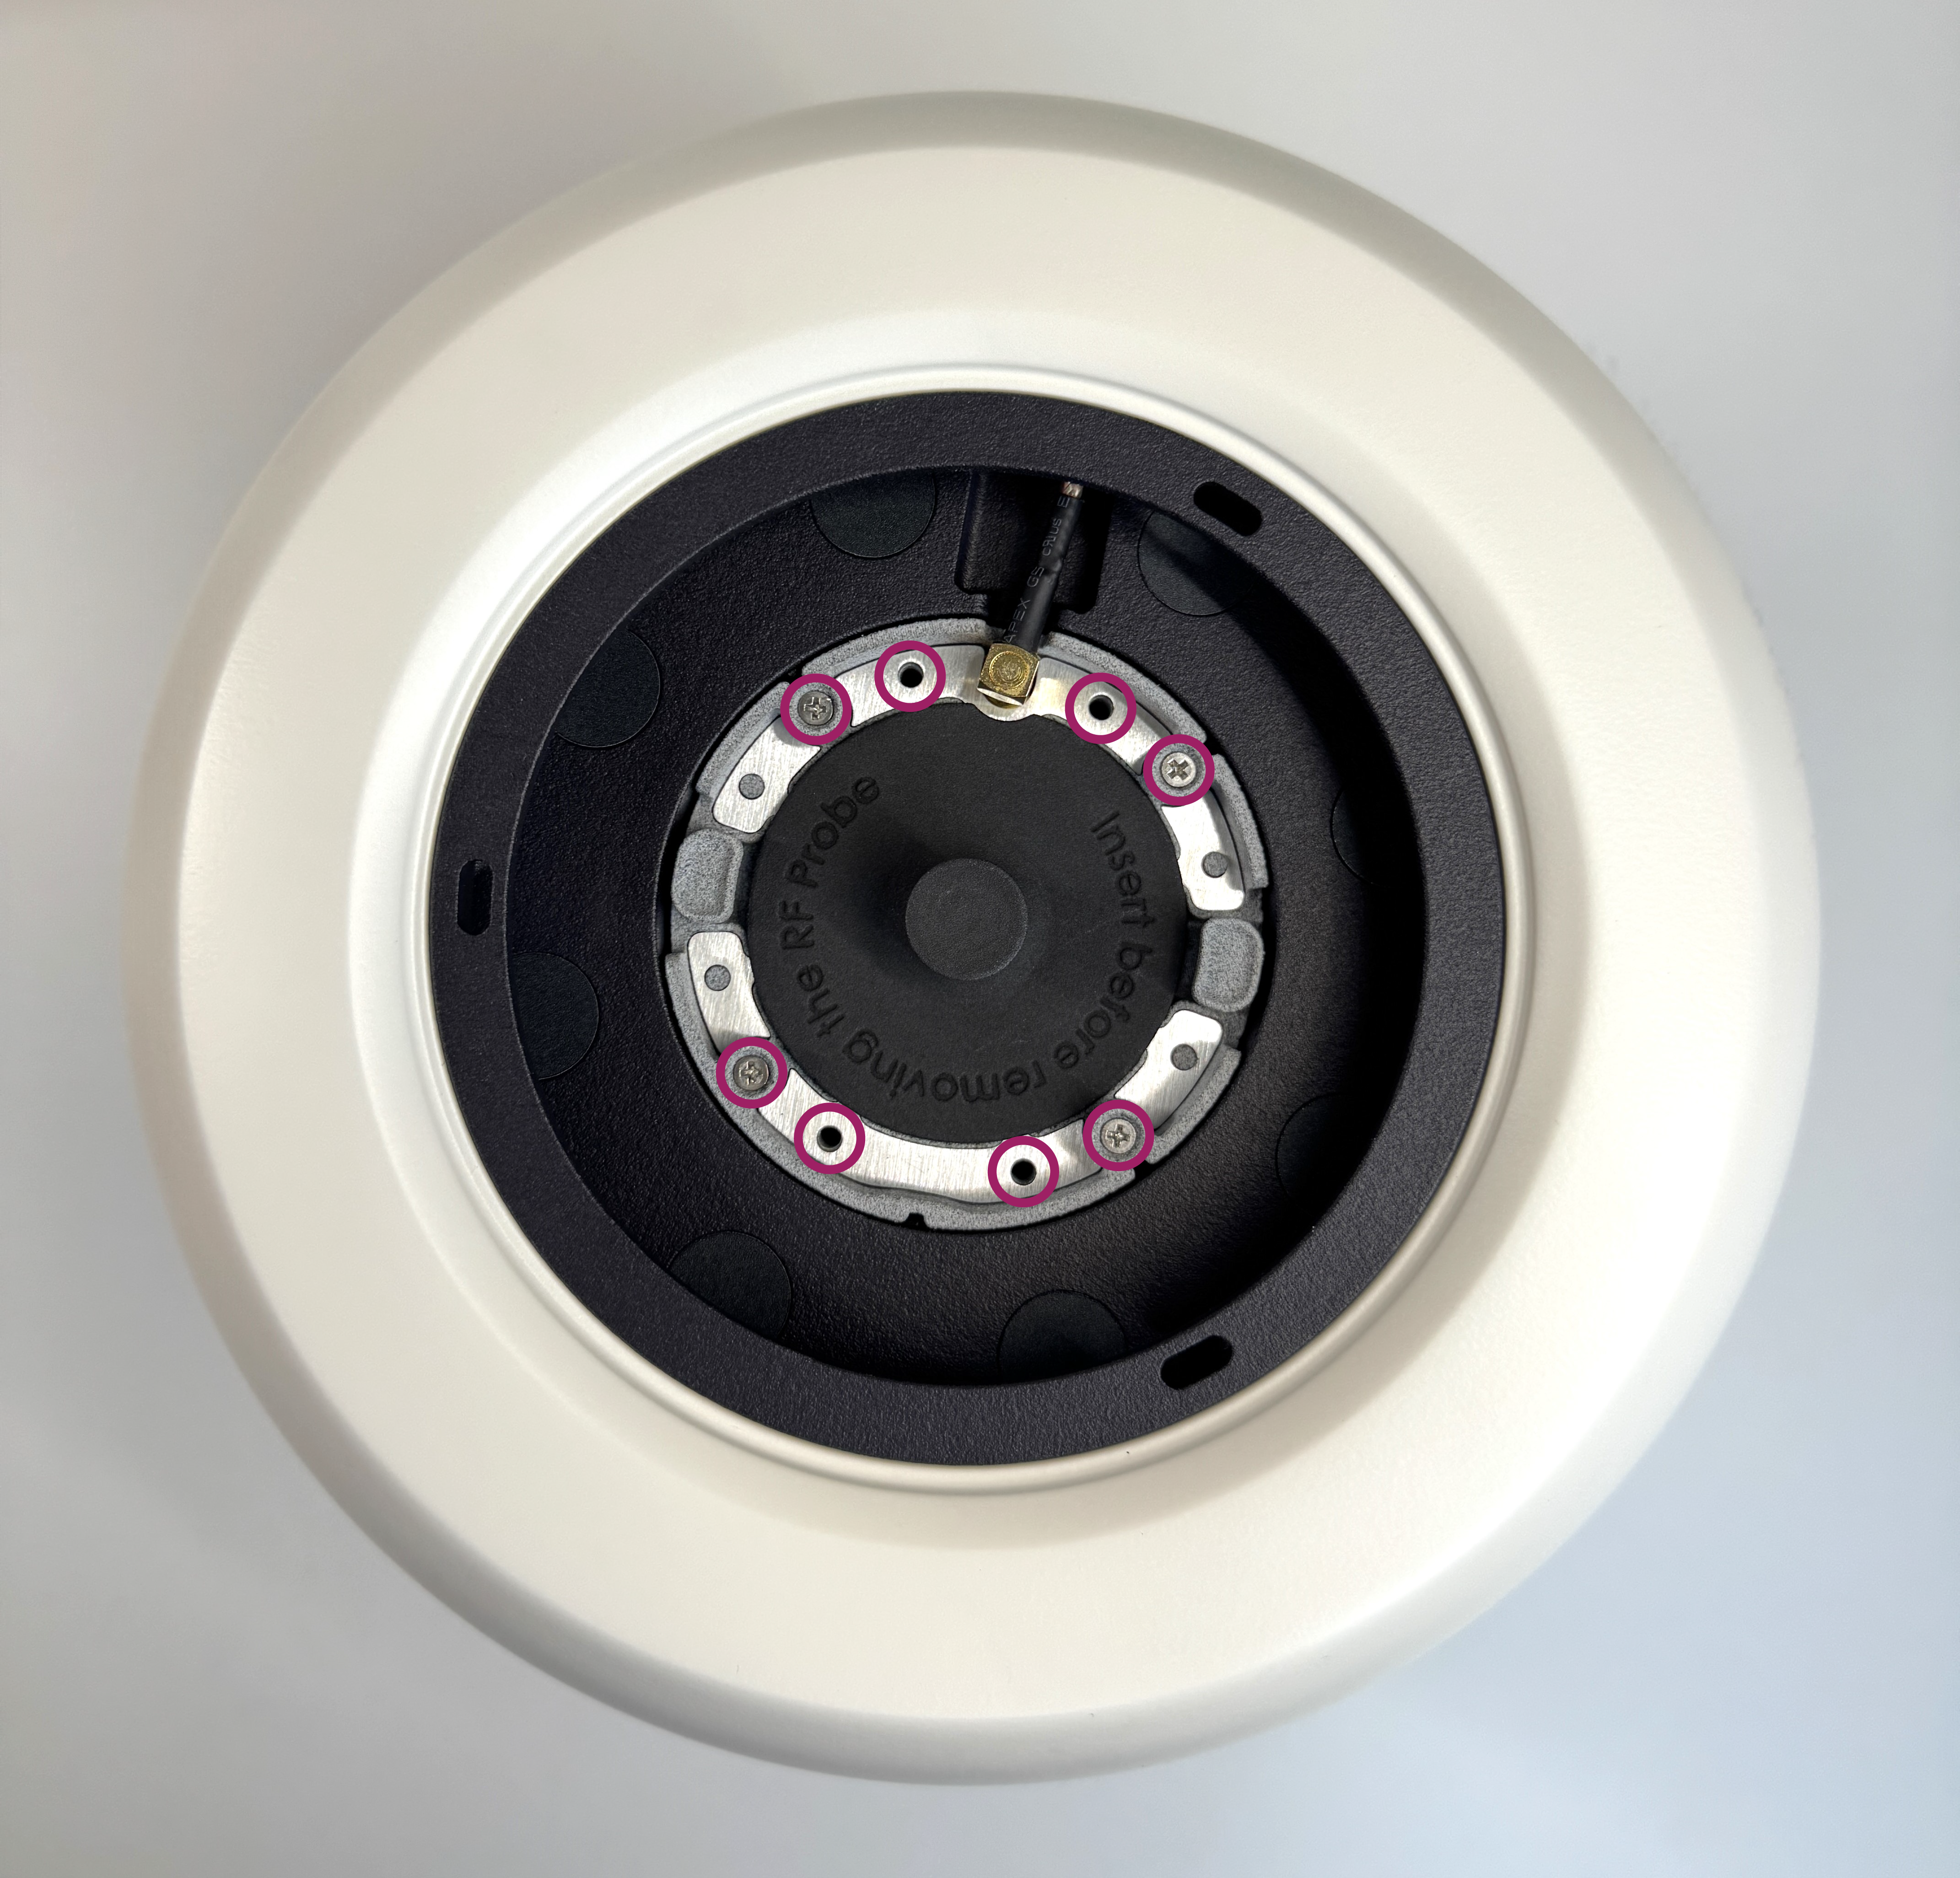
RF Probe Screw Locations
Disconnect the RF probe but pulling the connector upwards. This connector may be a little tight.
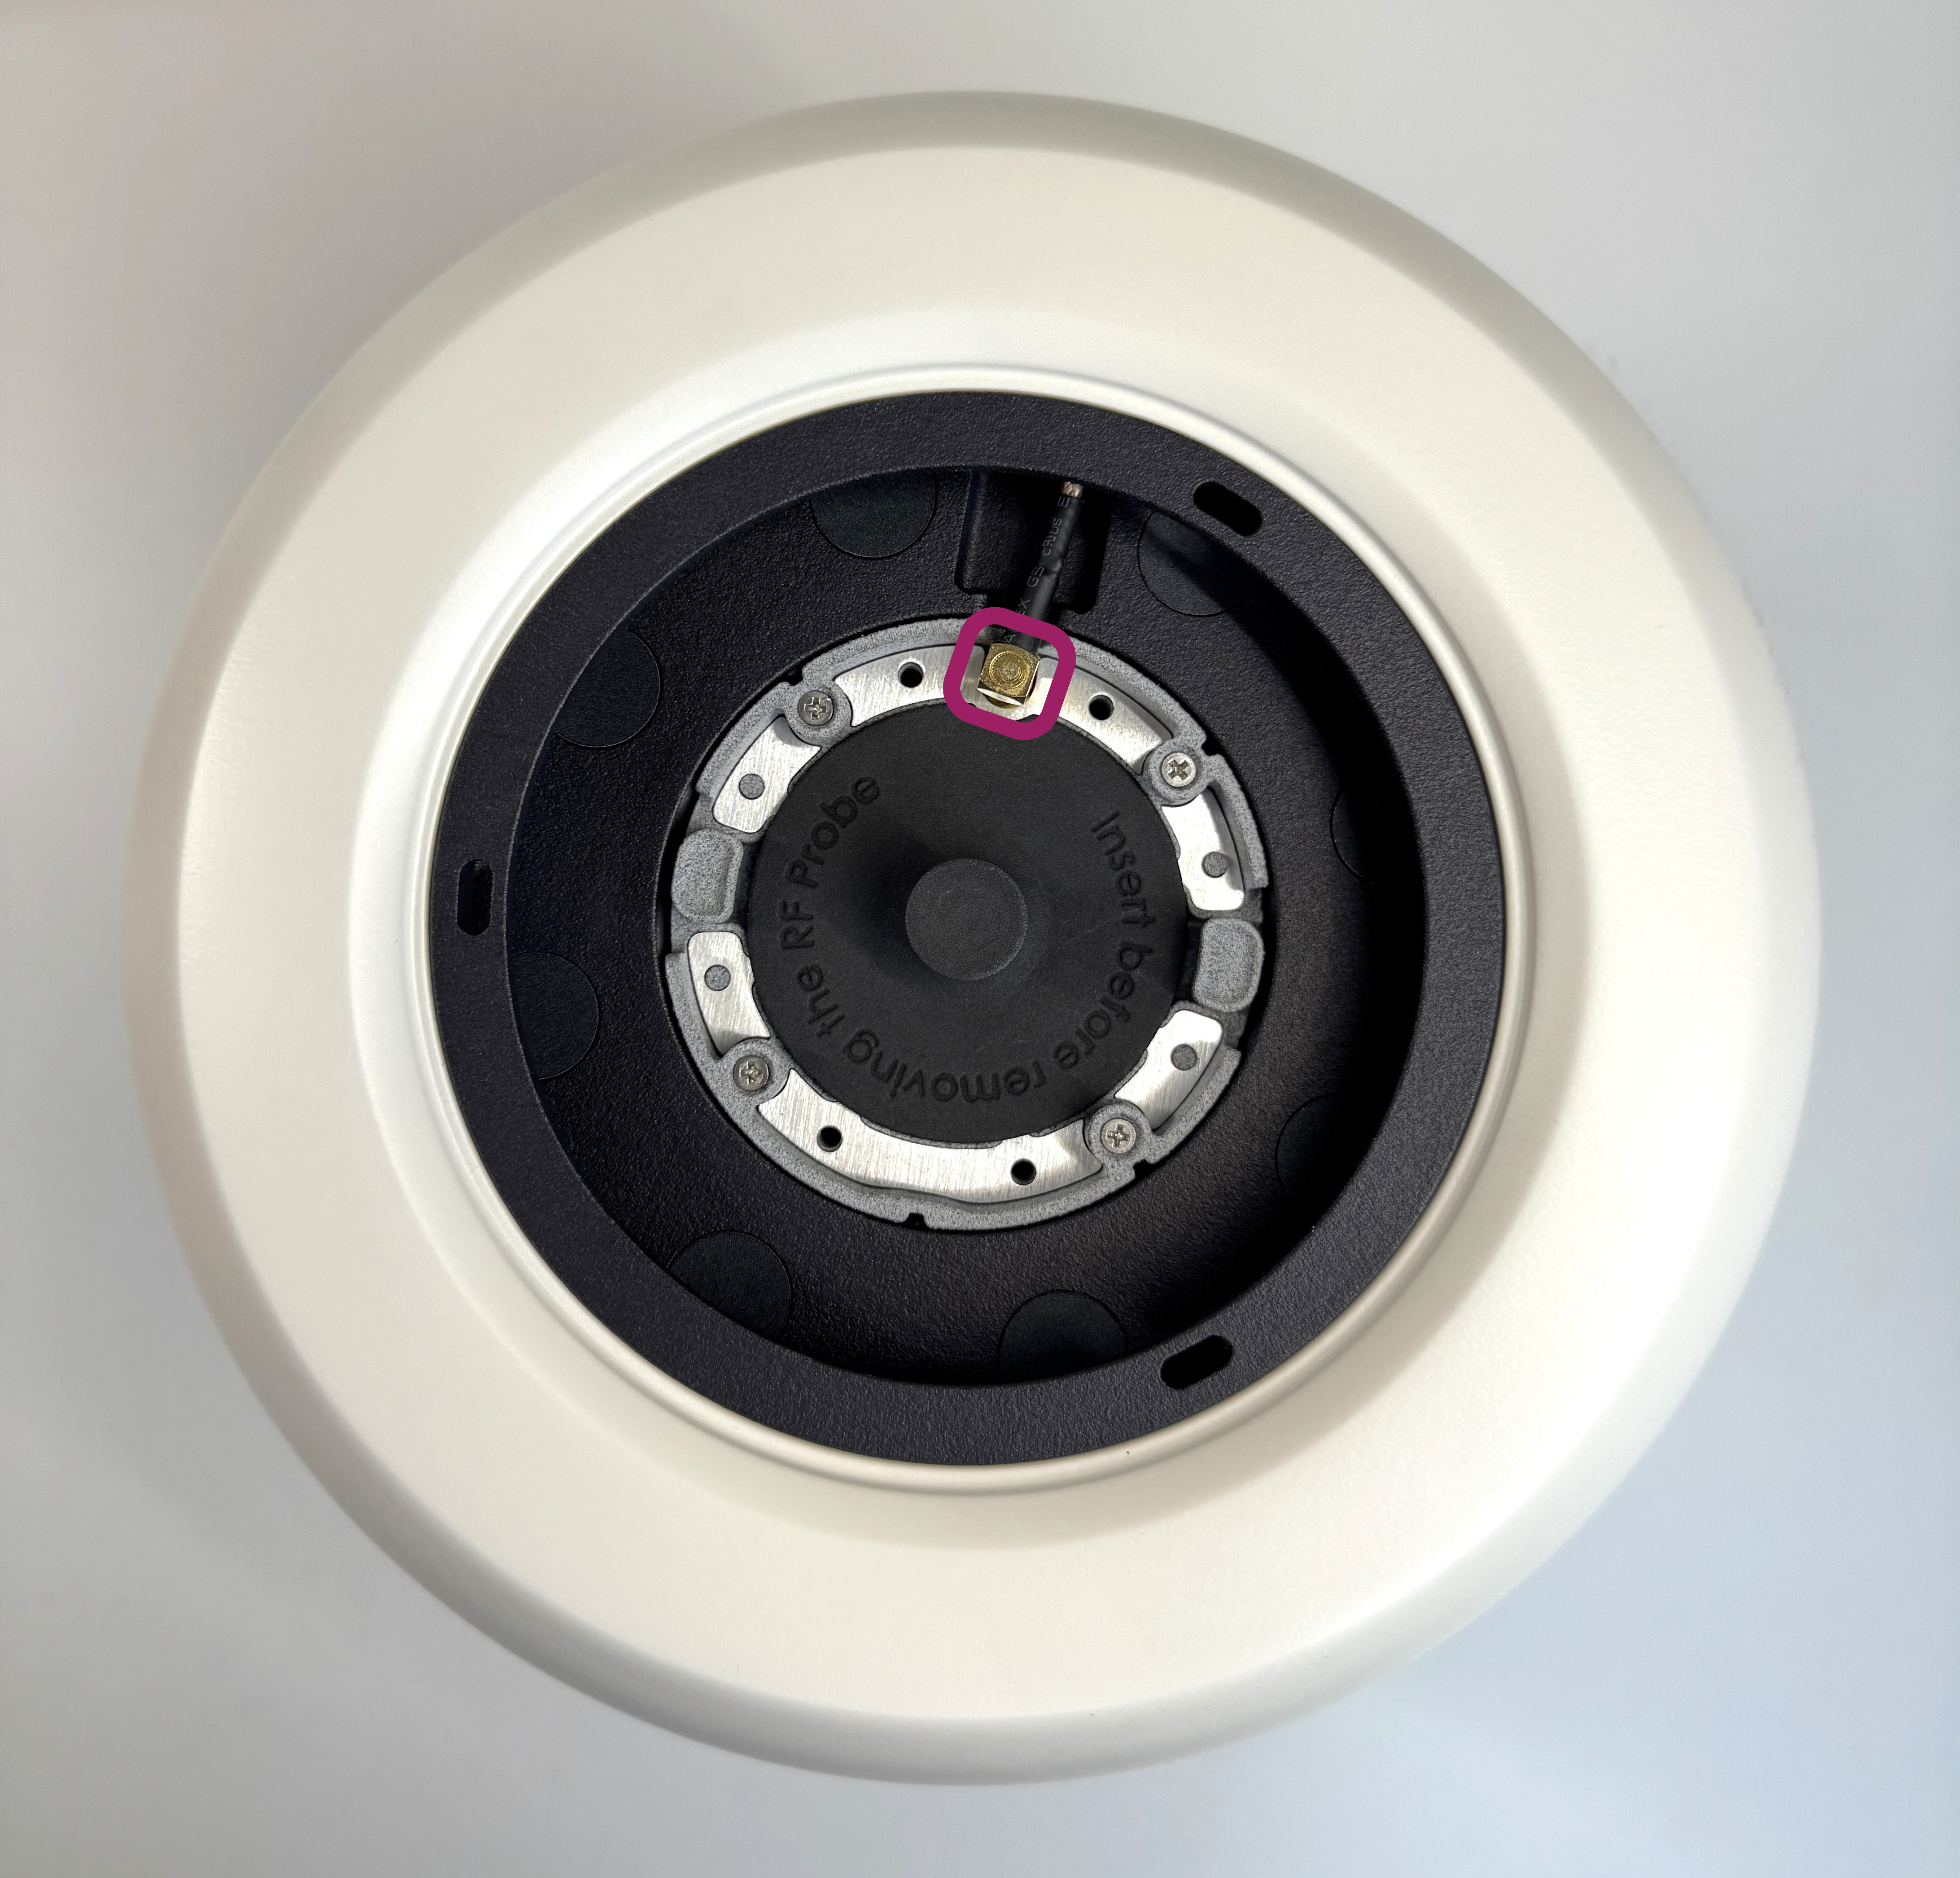
RF Probe Connector
Using the tabs on each side of the probe, carefully lift it up out of the system. Take care to not apply any pressure to the RF shield.
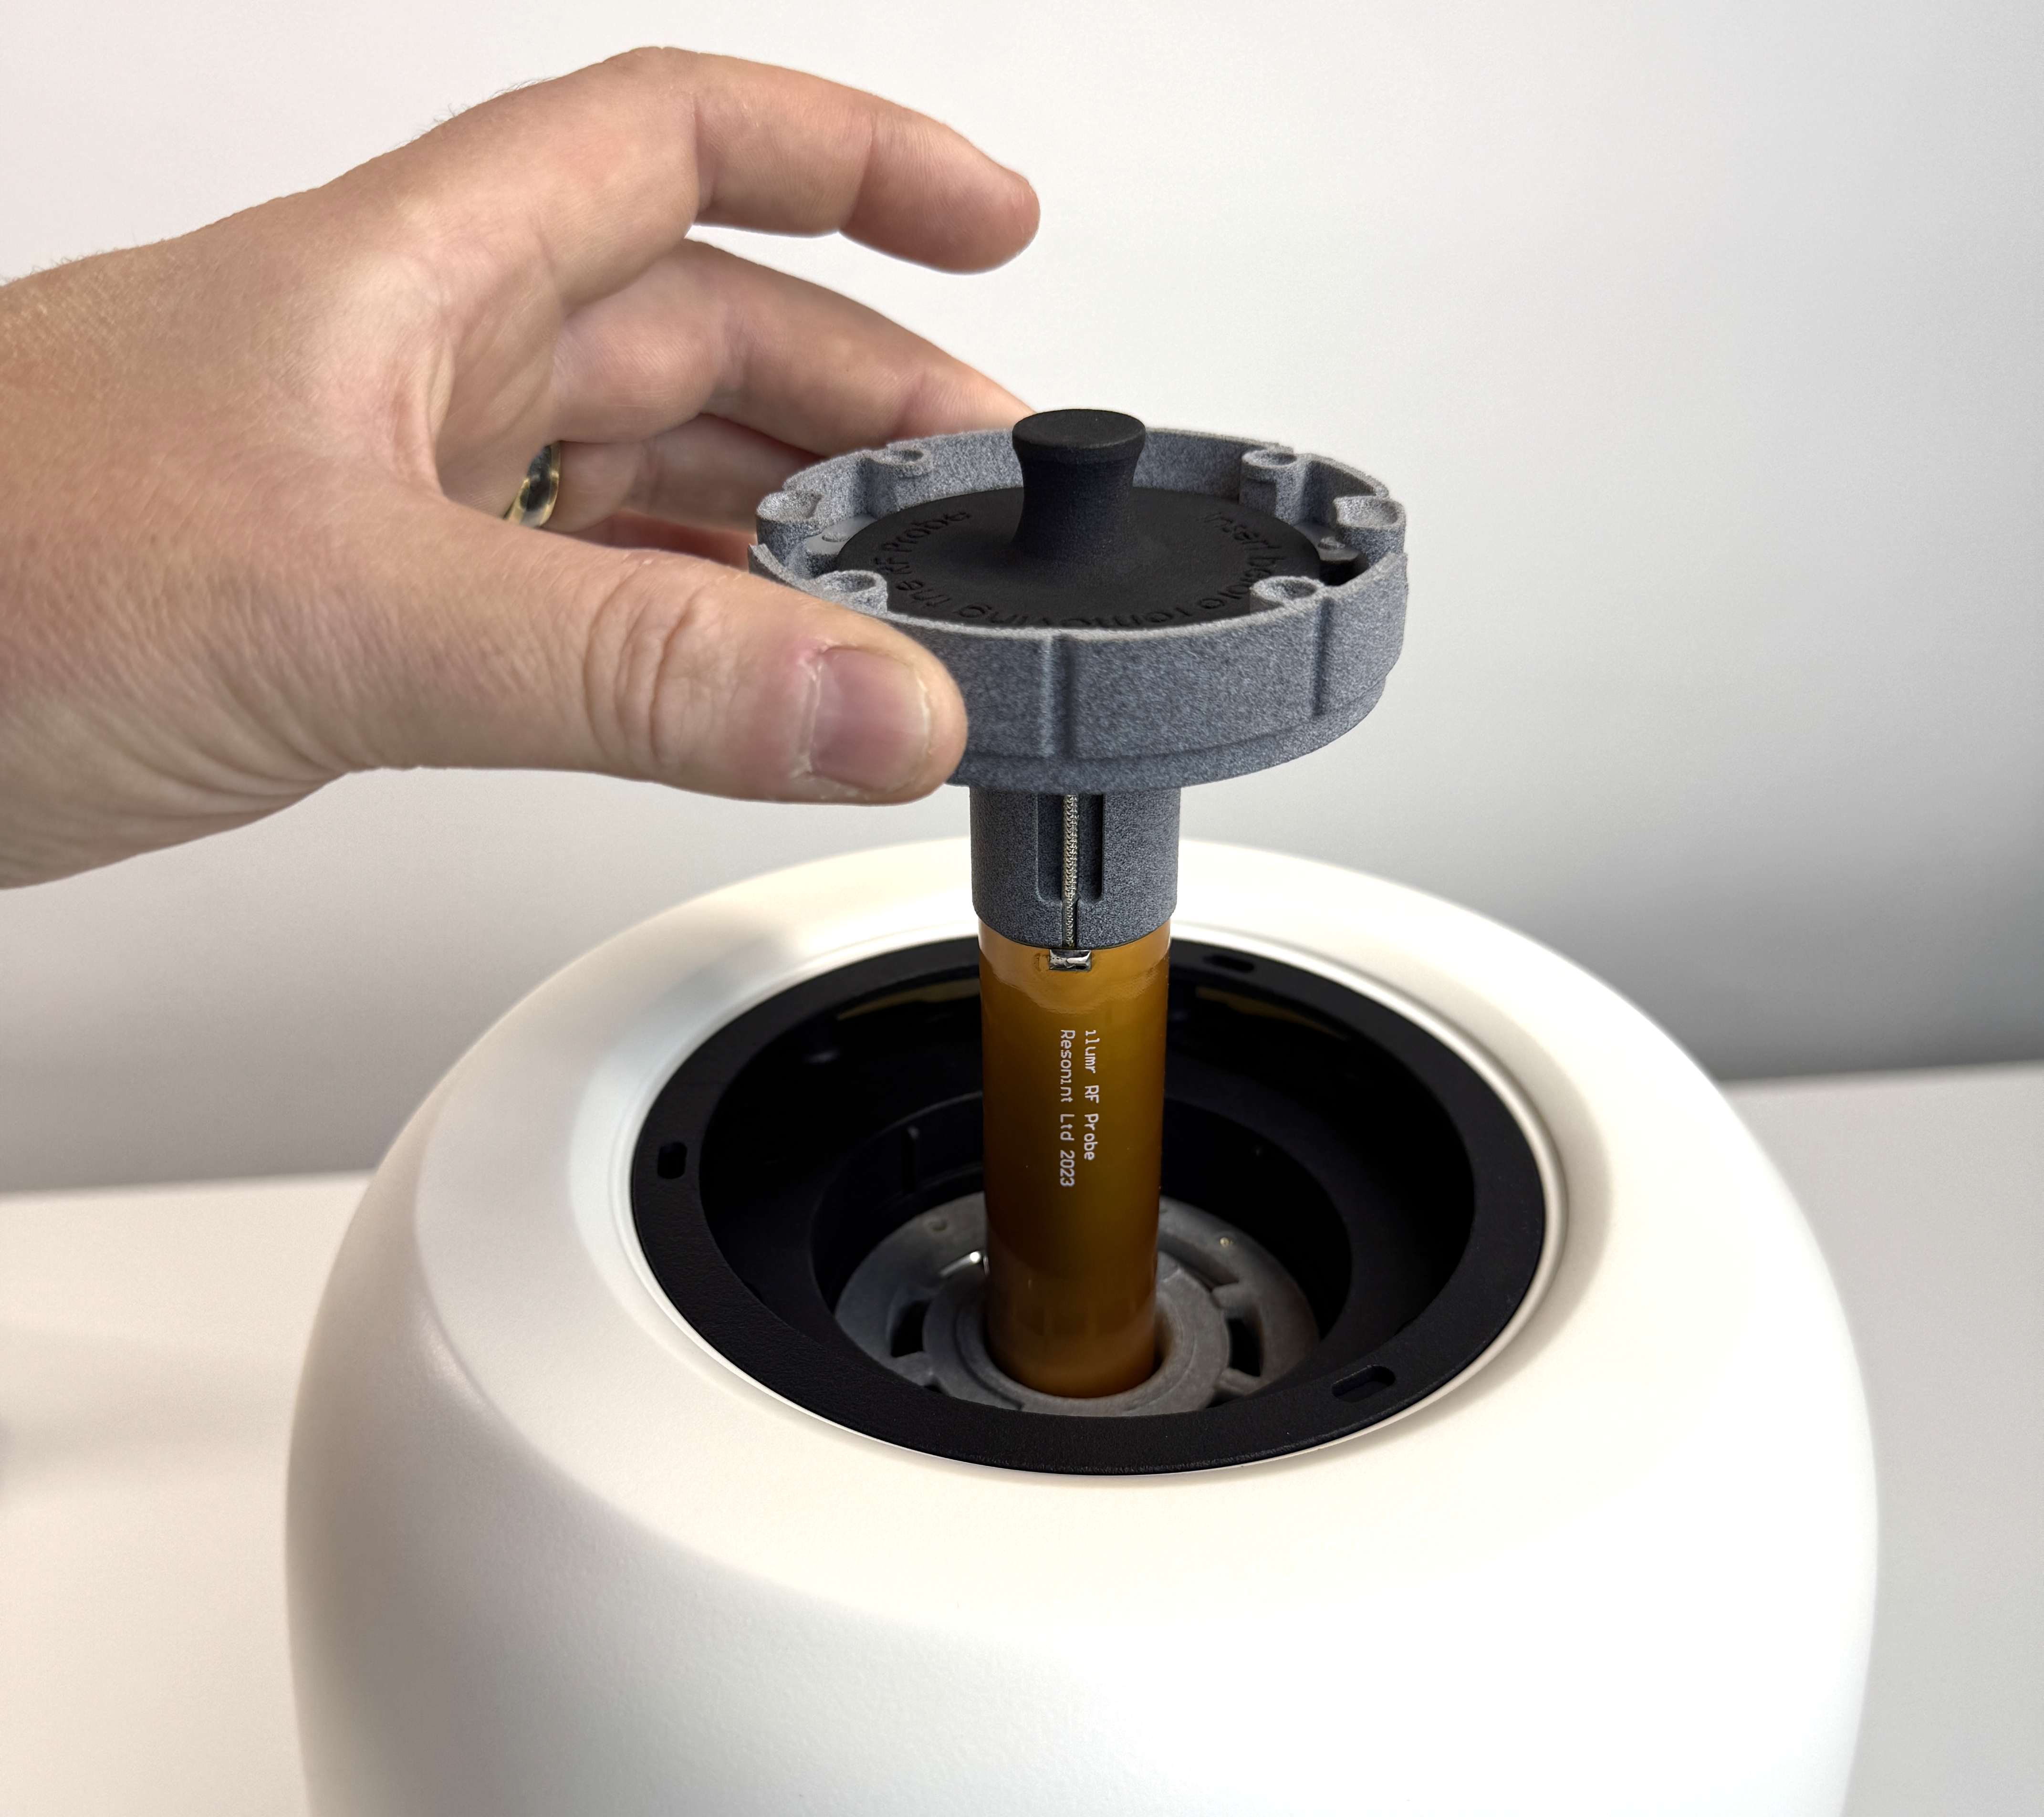
Removing the RF Probe
Lower the 15mm RF probe into place, secure with the fasteners, and reconnect the probe.
Place the 15mm ilumr lid onto the system and rotate it clockwise to lock it in position.
Open the FOV.yaml file in the home/Globals folder and set the value to 0.018 to increase the field of view for the larger probe.
Finally the pulse lengths will need to be recalibrated, follow the instructions in the Pulse Calibration section to calculate the required values for the 15mm probe.
Hardware Specifications
Magnet
Design |
Halbach Array |
Field Strength |
0.33 T (1H 14 MHz) |
Temperature Control |
PID Temperature Control to 30°C with 0.001 °C Resolution |
Temperature Operating Range |
Laboratory Environment of 15 °C to 25 °C |
1H 50% Linewidth |
10mm Sample Volume with Shims, < 70 Hz |
1H 50% Linewidth |
15mm Sample Volume with Shims, < 100 Hz |
RF
Transmit Amplifier |
5W 60MHz Bandwidth |
Receive Preamp |
Low Noise, Wideband, Variable 60-80 dB Gain |
RF Probe |
Solenoid coil 10mm Diameter, Adjustable Tuning/Matching |
180 Hard Pulse Minimum Width |
25 μs |
Probe Dead Time + Preamp Recovery Time |
50 μs |
Gradient & Shims
Gradient Strength |
150 mT/m per Channel (X/Y/Z) |
Gradient Amplifier |
Up to 3A Current-Output per Channel (X/Y/Z) |
Shims |
First & Second Order (X, Y, Z, Z2, X2Y2, XY, ZX, ZY) |
Digital
Processor |
Dual-core ARM Cortex-A9 |
Memory |
1 GB DDR3 |
Storage |
64 GB Internal SD Card |
Receive |
16-bit 100Msps ADC |
RF Transmit |
16-bit 100Msps DAC |
Gradient/Shim Channels |
8 |
Pulse Sequencer |
FPGA, 10 ns Timing Resolution |
Digital Receive Processor |
FPGA, 32-bit Quadrature Output |
Connectivity
WiFi |
Dual-band 802.11 a/b/g/n up to 100Mbps |
Ethernet |
IEEE 802.3 10/100/1000Mbps |
Other
Power Supply |
DC, 24V 120W |
System Weight |
8.9 kg |
Dimensions |
245 x 245 x 320 mm |
External I/O’s |
2 Inputs, 4 Outputs, Logic Level 3.3V |
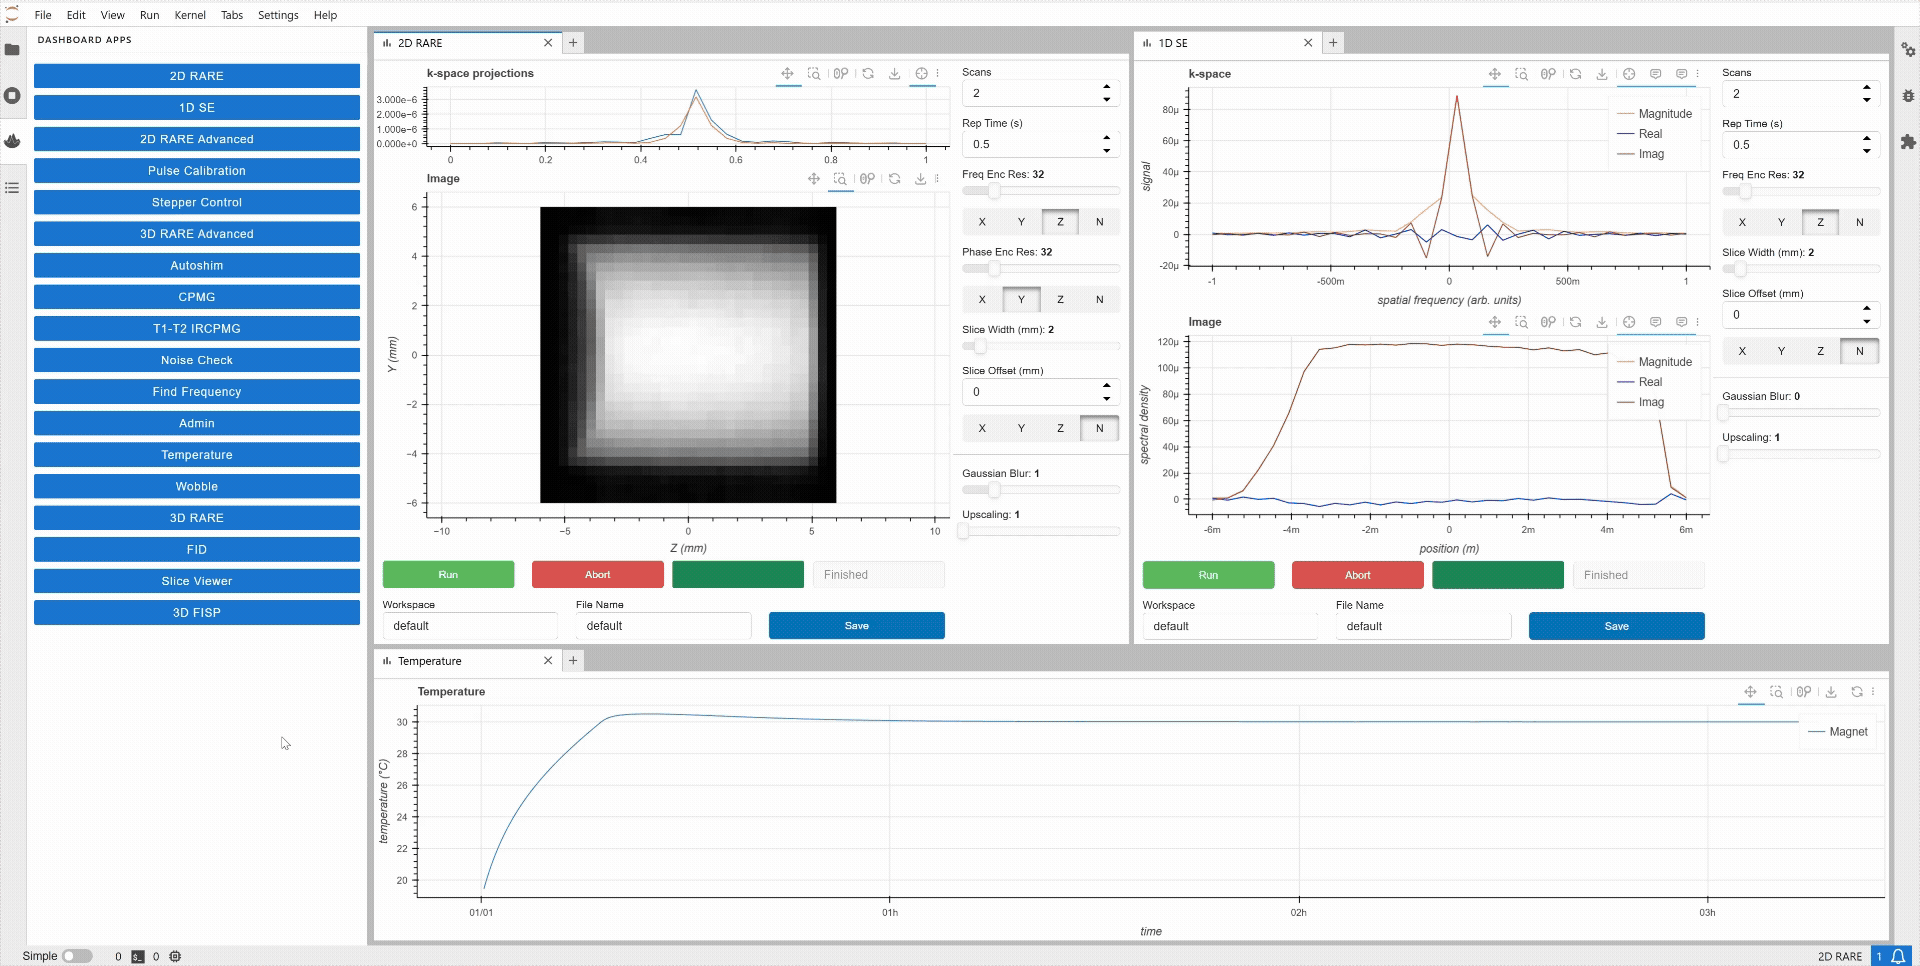
Jupyter Lab “Simple Mode”
If you wish to expand the area that a single activity is taking up in the work space, without resizing or closing tabs, there is an option called Simple Mode.
Click the tab you want to expand. In the bottom left corner, toggle the Simple toggle button. The selected tab will expand while preserving the layout of the other tabs.

Simple Mode Toggle Button
When leaving Simple Mode, the original layout of the main area is restored. This feature is particularly useful when controlling the instrument using an iPad or touch screen device. Switch to simple mode and leave the Dashboard Apps menu open to toggle between required apps.
Switching Between Simple and Normal Mode
Contact Us!
If you have any trouble setting up and using your ilumr system or if you have question about something that is not covered in the user guide, don’t hesitate to reach out to our friendly team!
Send us a message on our user forum: https://resonint.discourse.group/
Send us an email at: info@resonint.com
We’re always excited to hear about your projects and happy to help with any problems!